
Let's make Tezzera feel like home.
I want to
take a quick look around
set up my studio
get ready to book clients
plan my projects
set up my emails + automations
invite my first client

First, a quick look around.
Tezzera is laid out so you can find anything in a click or two. Here's where everything lives:
Your main sidebar: your dashboard, projects, workflows, meetings, templates and more.
Pinned projects: jump into active projects and leads in one click. Choose what shows here in your project group settings.
Workspace settings: click the ••• at the bottom of your sidebar for your business info, team members and clients, payouts, integrations and subscription.
Need help along the way? Click the chat bubble in the bottom right corner of your dashboard.
[ phase 01 ]
Setting up your studio
The once-and-done stuff. Set these up first and everything you send clients will look like you, from day one.
-
Business Info + Payouts
Add your studio details and connect a way to get paid, so you're ready to send your first invoice.
Add your business info and Tax ID or VAT number (Settings → Basics)
Connect Stripe so clients can pay by card or bank transfer (Settings → Financial)
Set your default currency, invoice note and payment instructions
-
Branding + Font Presets
Make Tezzera look like your studio. Your logo, colors and fonts carry through to everything your clients see, including your emails.
Upload your logo (Manage → Appearance)
Add your brand colors and fonts
Set up font presets for your headings, body text and buttons (Appearance → Fonts)
Read the full guides → Add your workspace branding · Creating & using font presets
-
Integrations + Your Email Domain
Connect the tools you already use, and send client emails from your own address.
Connect Google Calendar (My Account → Integrations)
Connect Zoom or Zapier if you use them (Settings → Integrations)
Connect your email domain so emails come from your studio (Settings → Integrations → Email domain)
Read the full guide → Setting up a custom email domain

[ phase 02 ]
Get ready to book clients
The fun part! Set up your packages, contracts, proposals, forms and booking page once, and every new client gets the same polished experience, from first inquiry to signed contract.
-
Packages + Add-Ons
Turn your services into packages you can drop straight into proposals.
Create a package for each service you offer (Manage → Templates → Packages)
Add deliverables, pricing and contract terms
Connect a task template to each package
Add smaller extras as add-ons
Read the full guide → Create your service packages & add-ons
-
Contracts
Write your contract once, and let it fill in the details for every client.
Create a contract template (Manage → Contracts)
Add smart fields for client and project details
Style it with your font presets
Choose who needs to sign
Read the full guide → How to set up and share a contract
-
Proposals
Let clients pick their package, choose a payment plan and sign, all in one flow.
Build a proposal with your packages and add-ons (Proposals → New)
Attach your contract
Choose your payment plan options
Save it as a template
Read the full guide → Creating & sending a proposal
-
Forms
Build branded inquiry forms, questionnaires and feedback forms that actually feel like you.
Create your inquiry form (Manage → Forms)
Style it with your colors and fonts
Share it with a link or embed it on your website
Read the full guide → Create a form in Tezzera
-
Meeting Pages
Let clients book calls with you, on your terms.
Create a meeting type (Manage → Meetings → New → Meeting Type)
Choose a location: Google Meet, Zoom, in person or any other meeting link
Set your hours, booking limits and date overrides
Link an intake form to the confirmation page
Read the full guide → Create a meeting page + set your availability
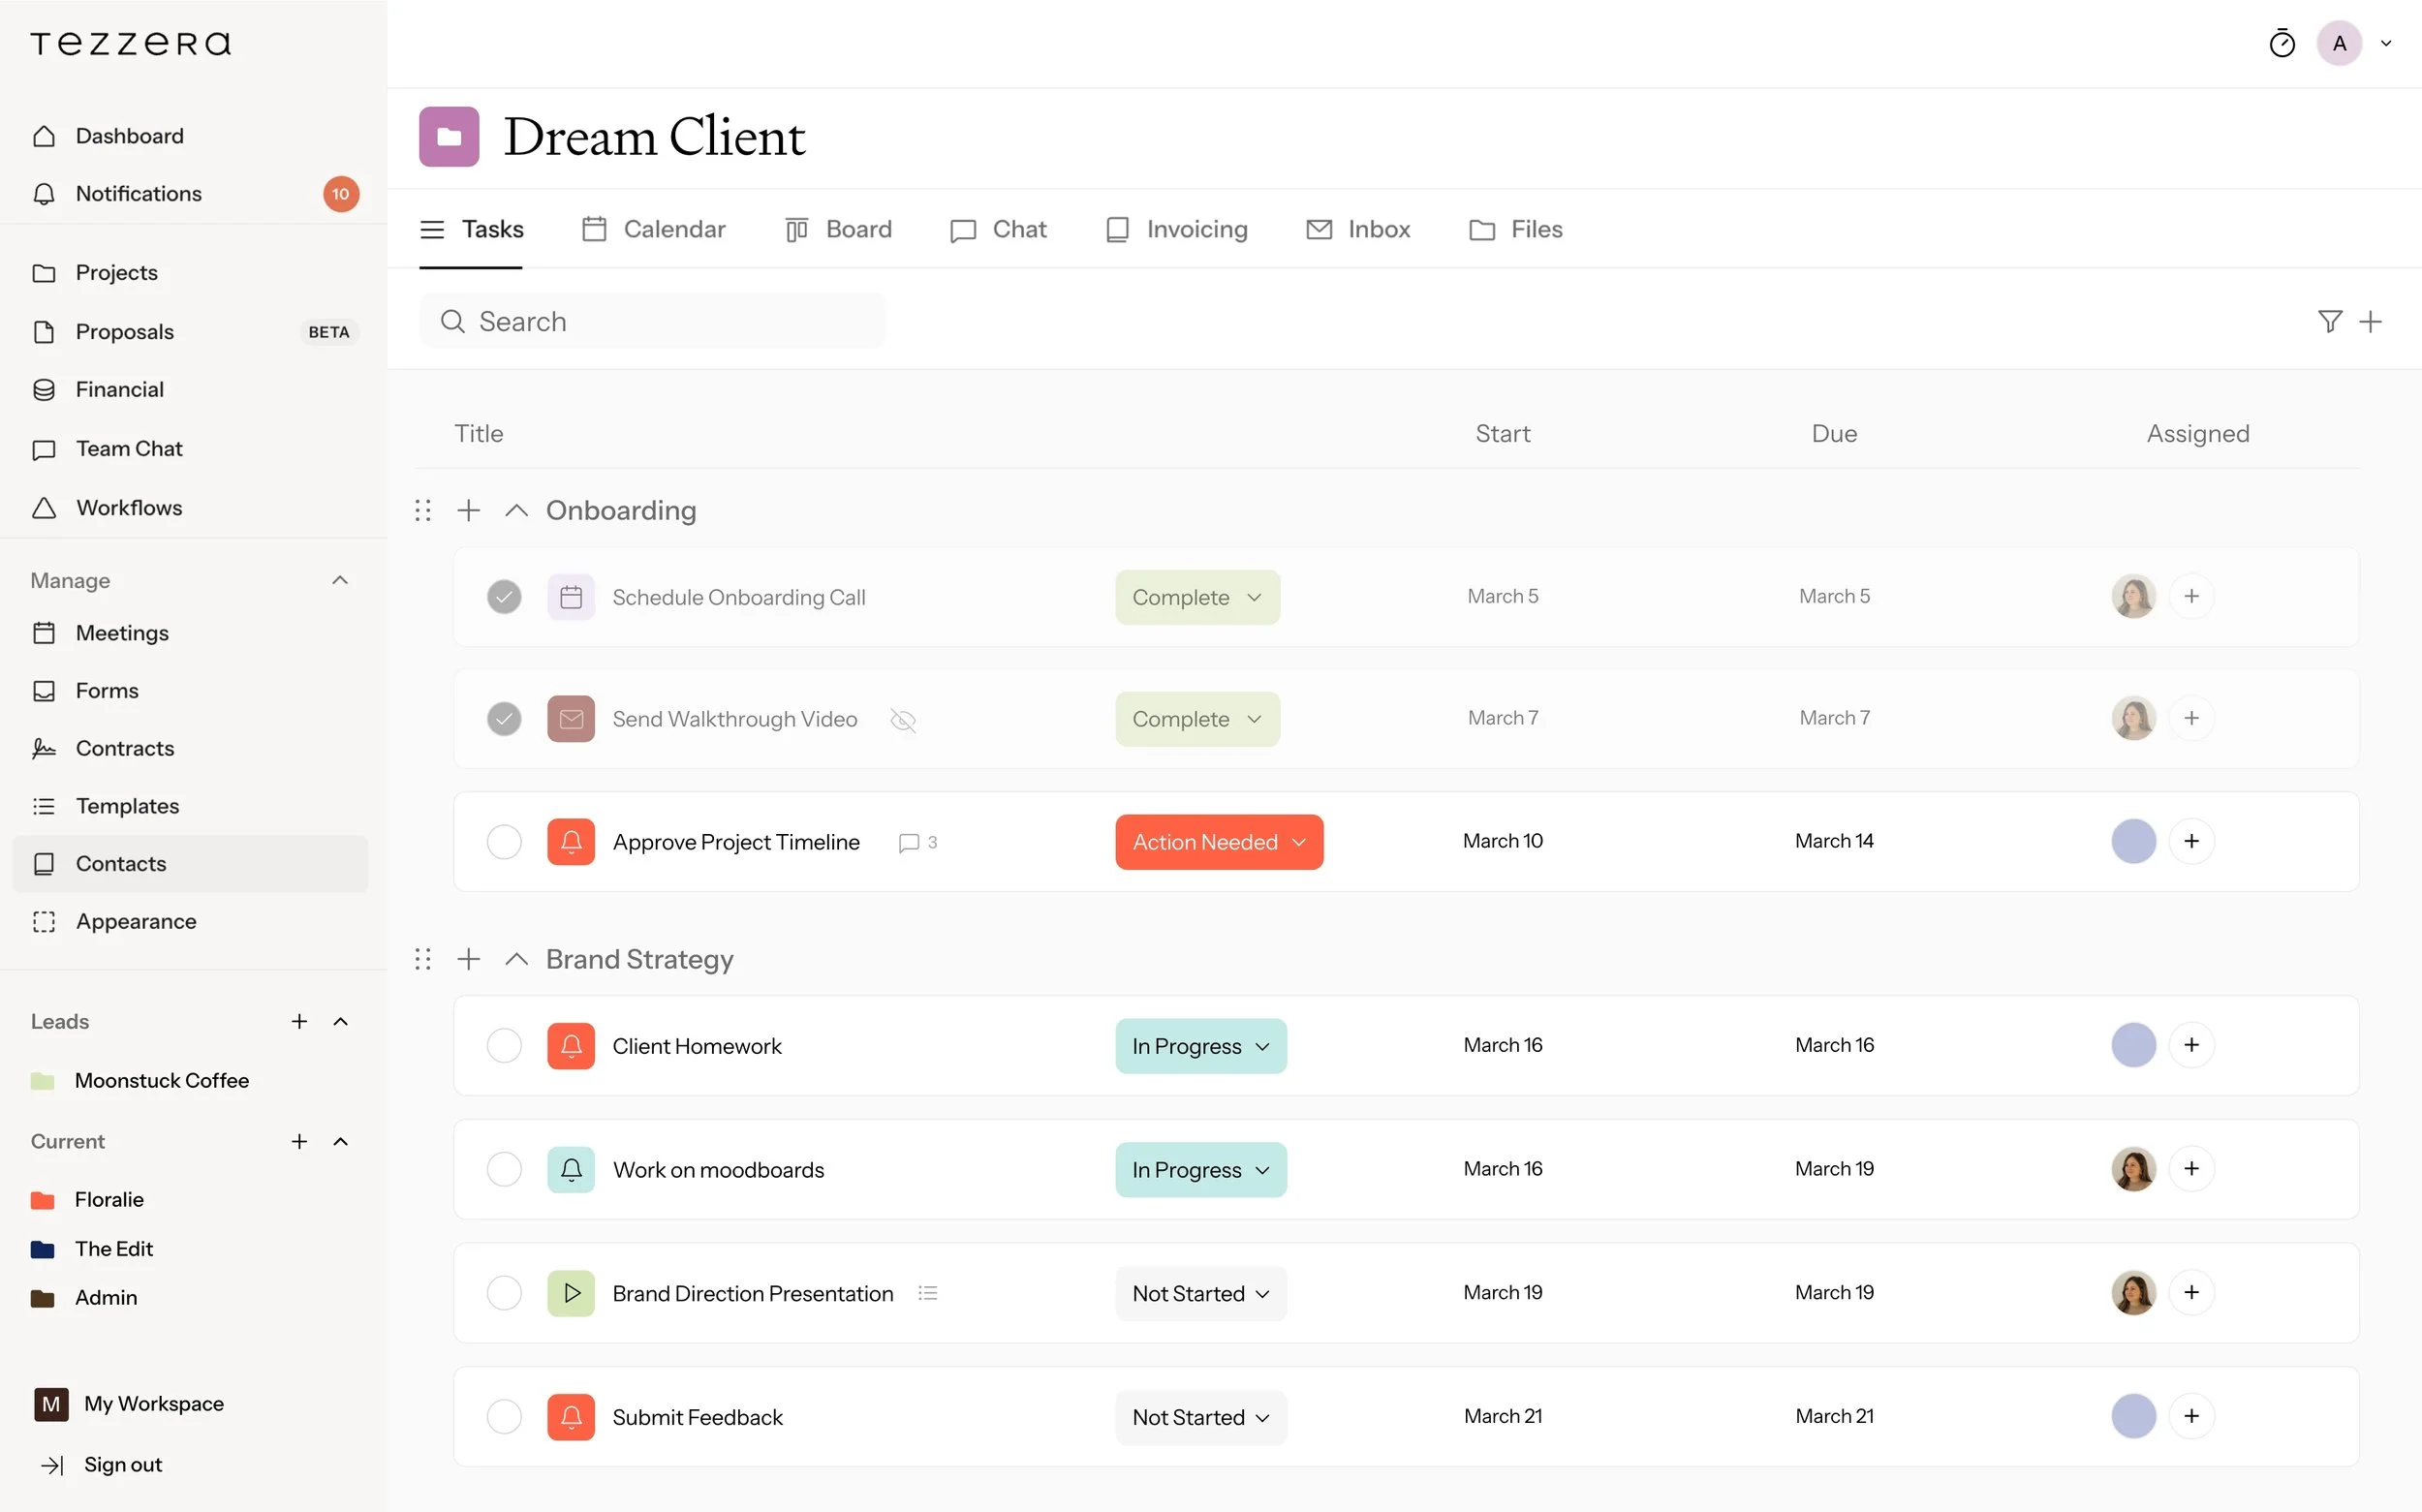
Keep projects organized with tasks, files, forms and a client chat all in one place.
No more having your tasks scattered across multiple platforms and projects. Tezzera keeps everything together so your process can finally feel simpler. (And fewer open tabs in your browser.)